How to embed a Shiny App on Website
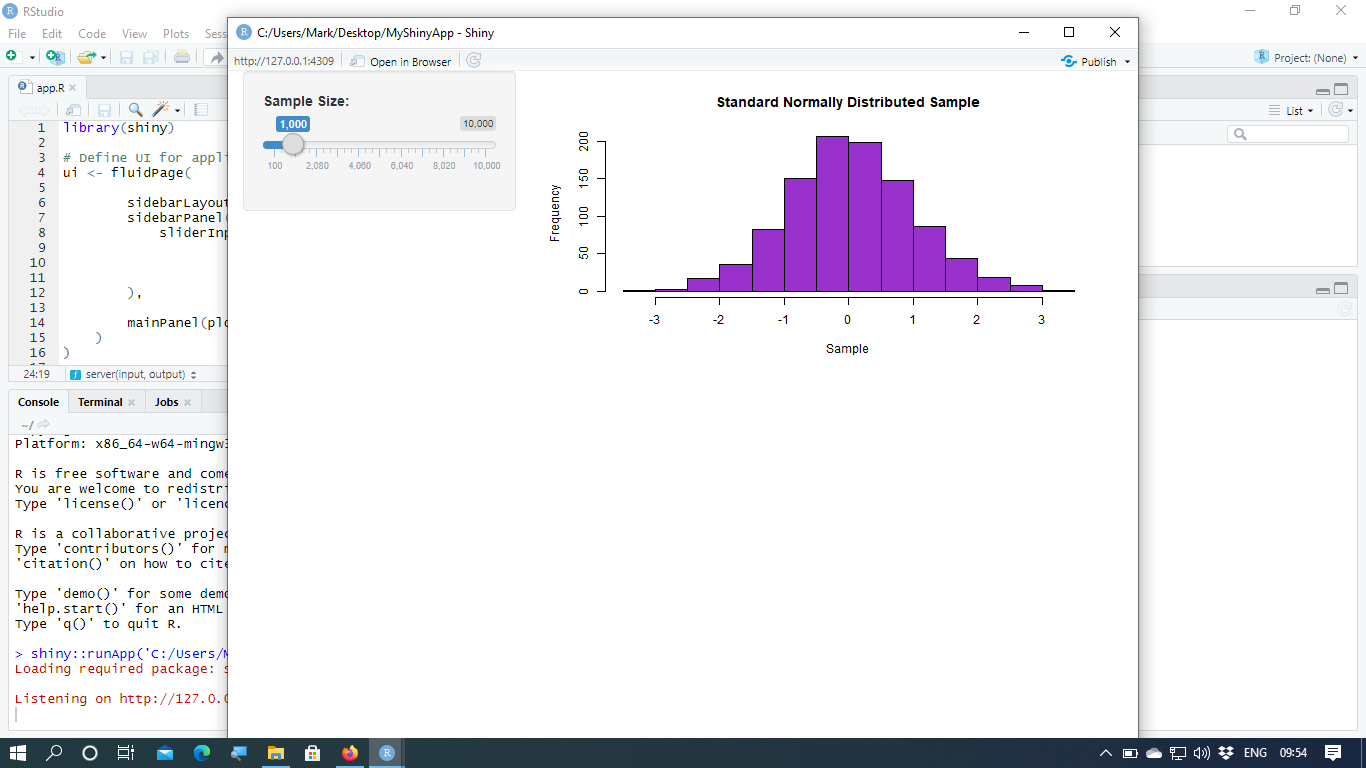
The following is an easy step-by-step approach to embed an R shiny app on your personal website. The following is a simple R shiny app constructed for demonstration and we are able to show it here on our own website. This app produces a histogram of a sample of standard normally distributed numbers. Move the slider to determine the sample size! Now, follow the step-by-step approach and you are able to embed your custom app on your own website!
Step 1: Code your web shiny app with RStudio and save it to your computer.
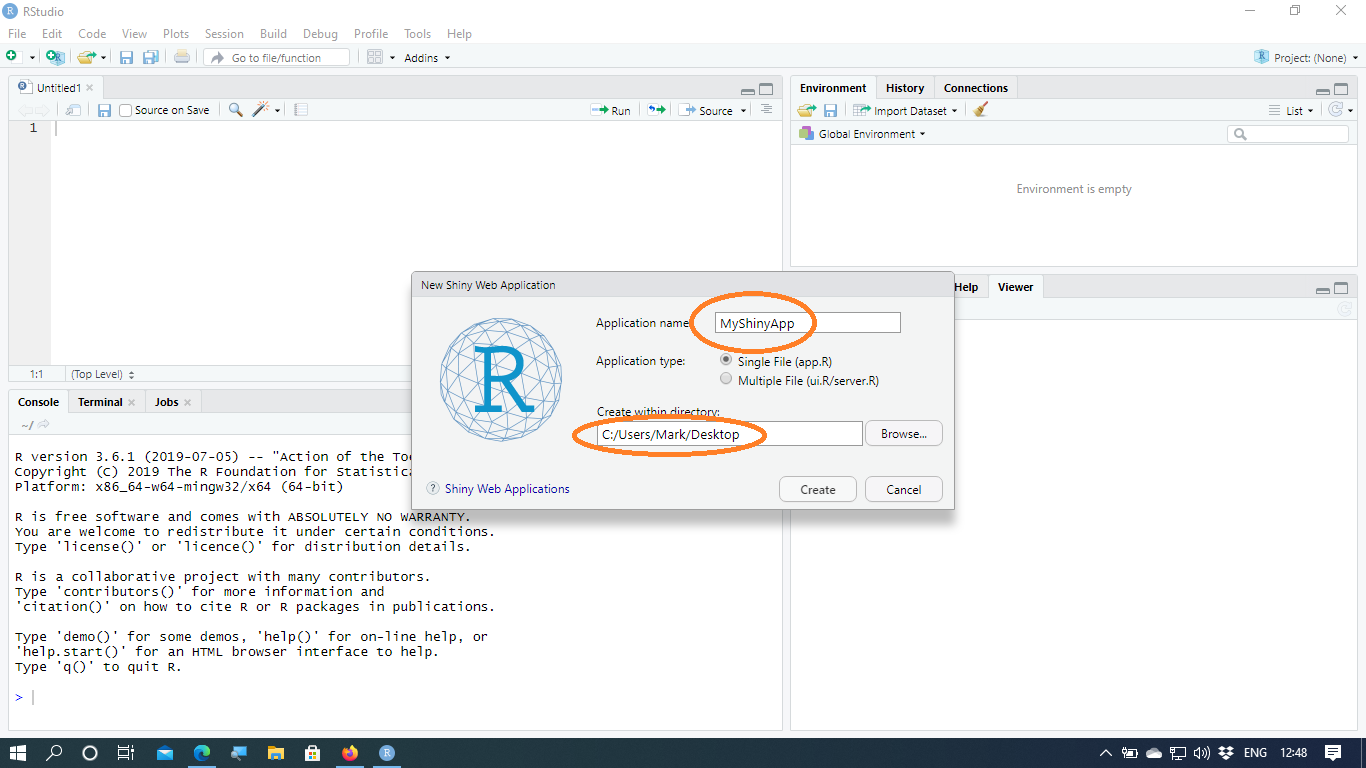
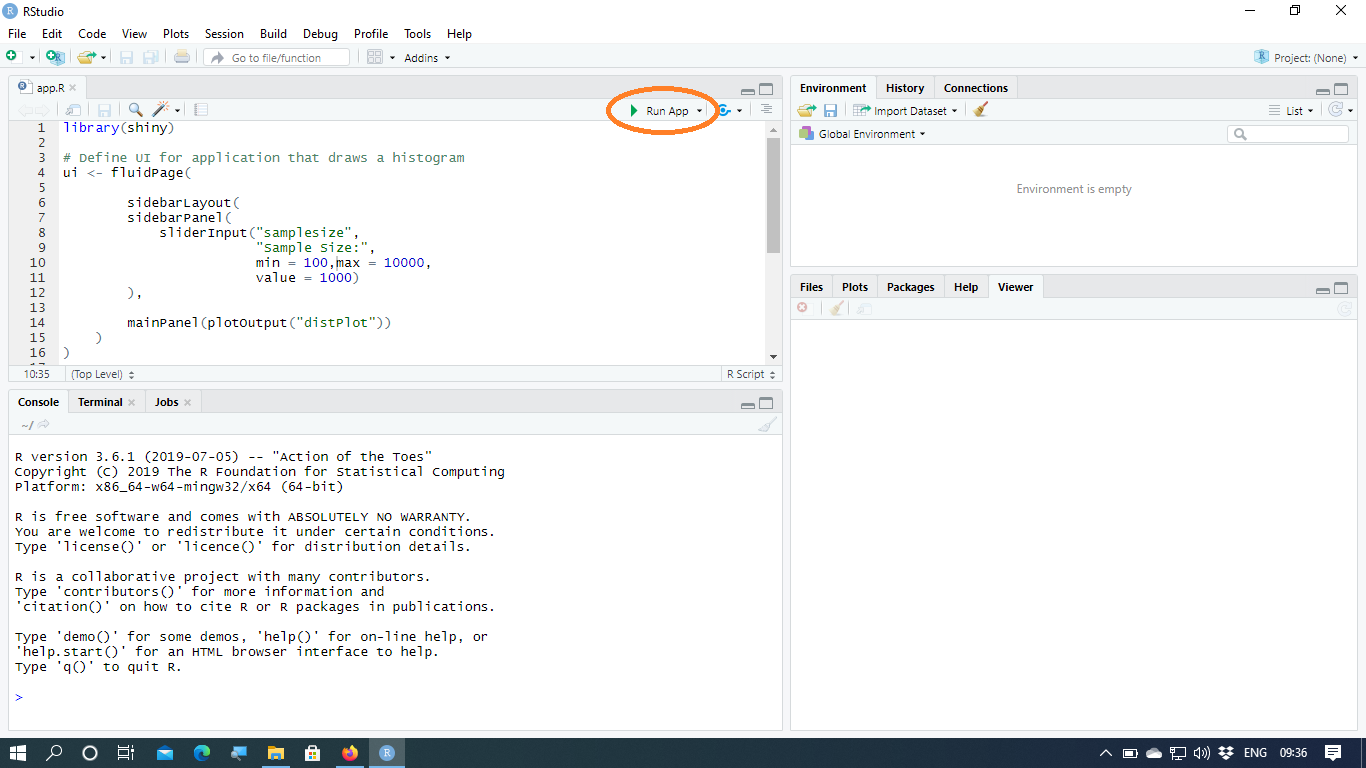
Open RStudio and a new Shiny App File by following the path “File>New File> Web Shiny App…”. R will save your app in a folder you name and a directory you choose, in the dialog box that pops out. I named my folder “MyShinyApp” and put it on my Desktop (see left screenshot). Write your code for your application in RStudio (see right screenshot).
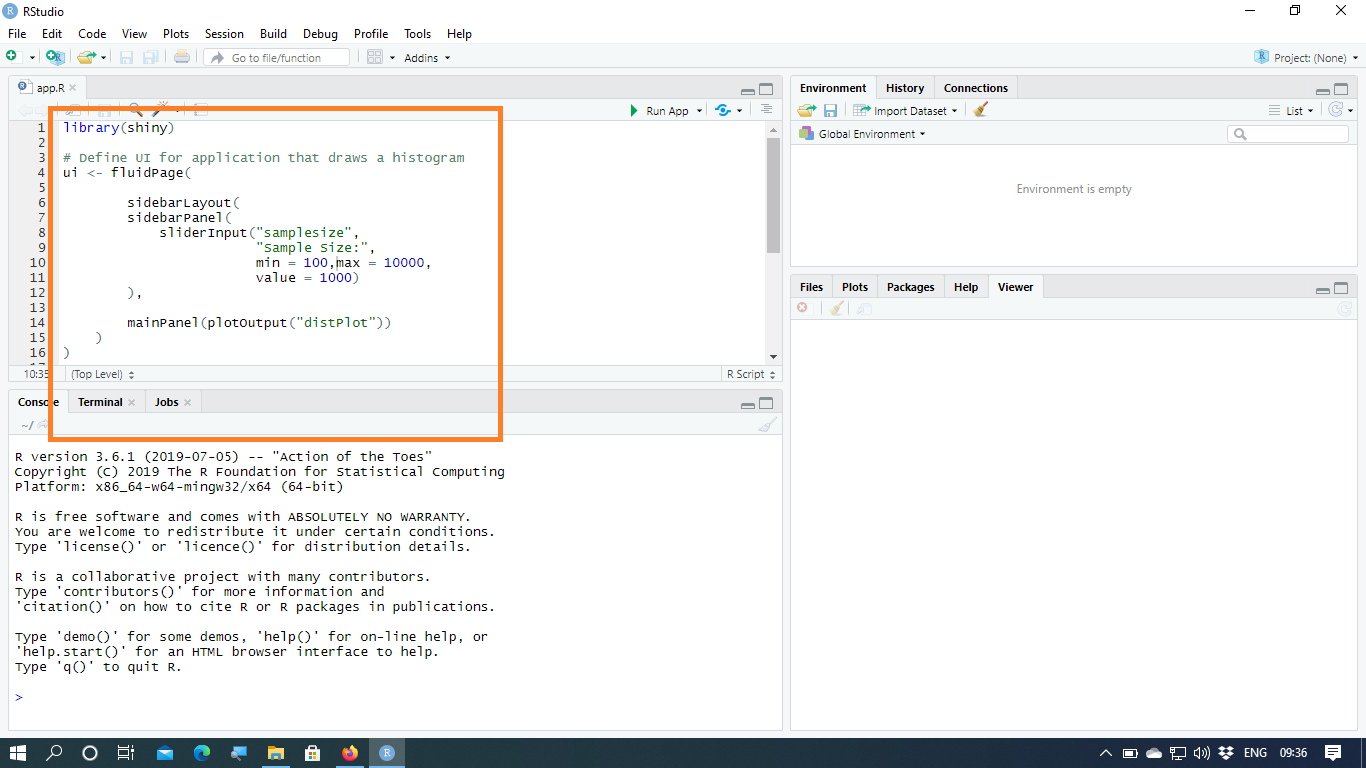
The following is a basic example code that I used for my app, which you could copy and paste into RStudio. This app accepts as an input a number between 100 and 10000, and plot a histogram of a sample of standard normally distributed numbers of size as stated in the input. Note that you should have the package “shiny” installed. If not, install it by just writing: install.package(“shiny”) in the R console.
library(shiny)

# Define UI for application that draws a histogram
ui <- fluidPage(
        sidebarLayout(
        sidebarPanel(sliderInput("samplesize","Sample Size:",min = 100,max = 10000,value = 1000)),
        mainPanel(plotOutput("distPlot"))
    )
)

# Define server logic required to draw a histogram
server <- function(input, output) {
    output$distPlot <- renderPlot({
        hist(rnorm(input$samplesize),col='darkorchid',xlab="Sample",main="Standard Normally Distributed Sample")},
        height=300
    )
}

# Run the application
shinyApp(ui = ui, server = server)
Step 2: Run your App on your computer
Click the “Run App” button (see left screenshot) and run the app on your computer in order to be sure that there are no mistakes in the code.
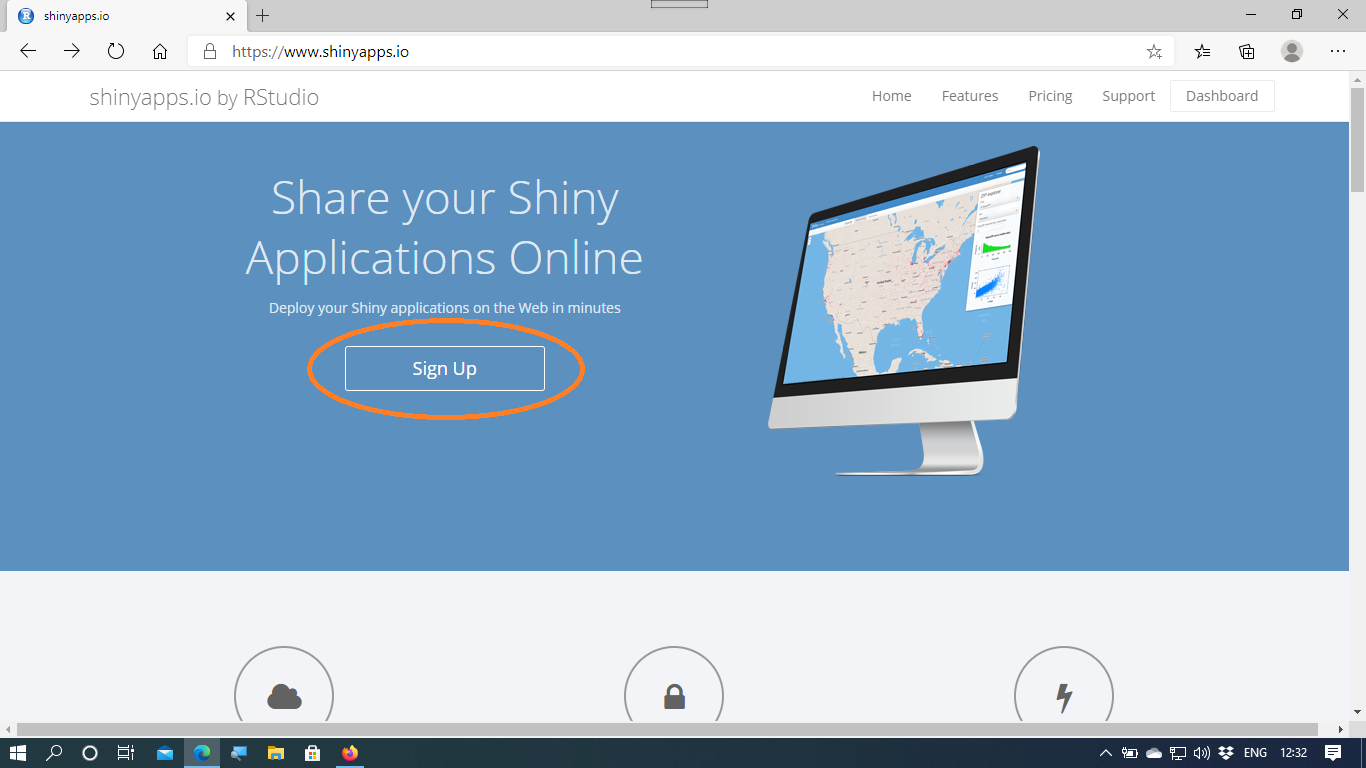
Step 3: Go to https://www.shinyapps.io/ and sign up.
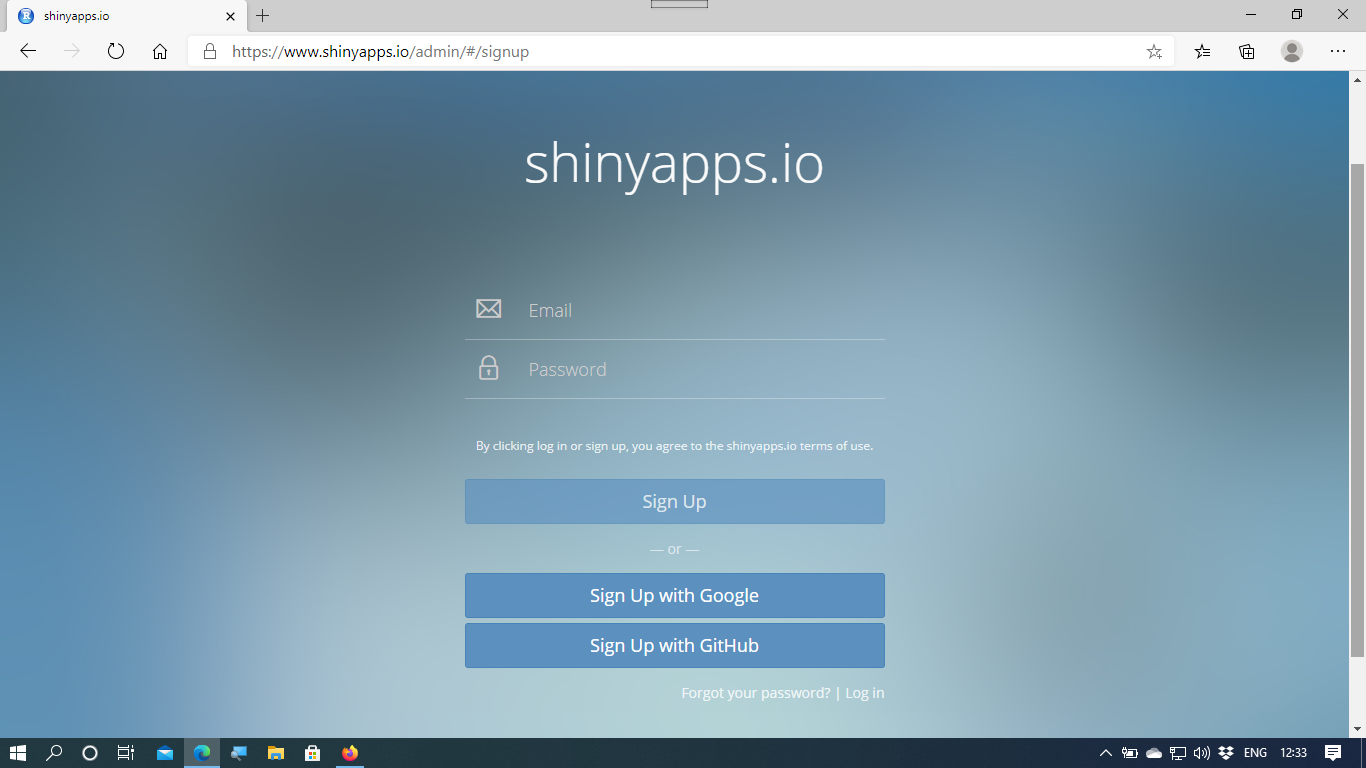
Enter your email address and construct a new password. You are also allowed to sign up with your Google or GitHub account. This platform will enable us to deploy our R shiny app and we can access and use it online and also share it with other users. The free version allows you to deploy up to 5 applications.
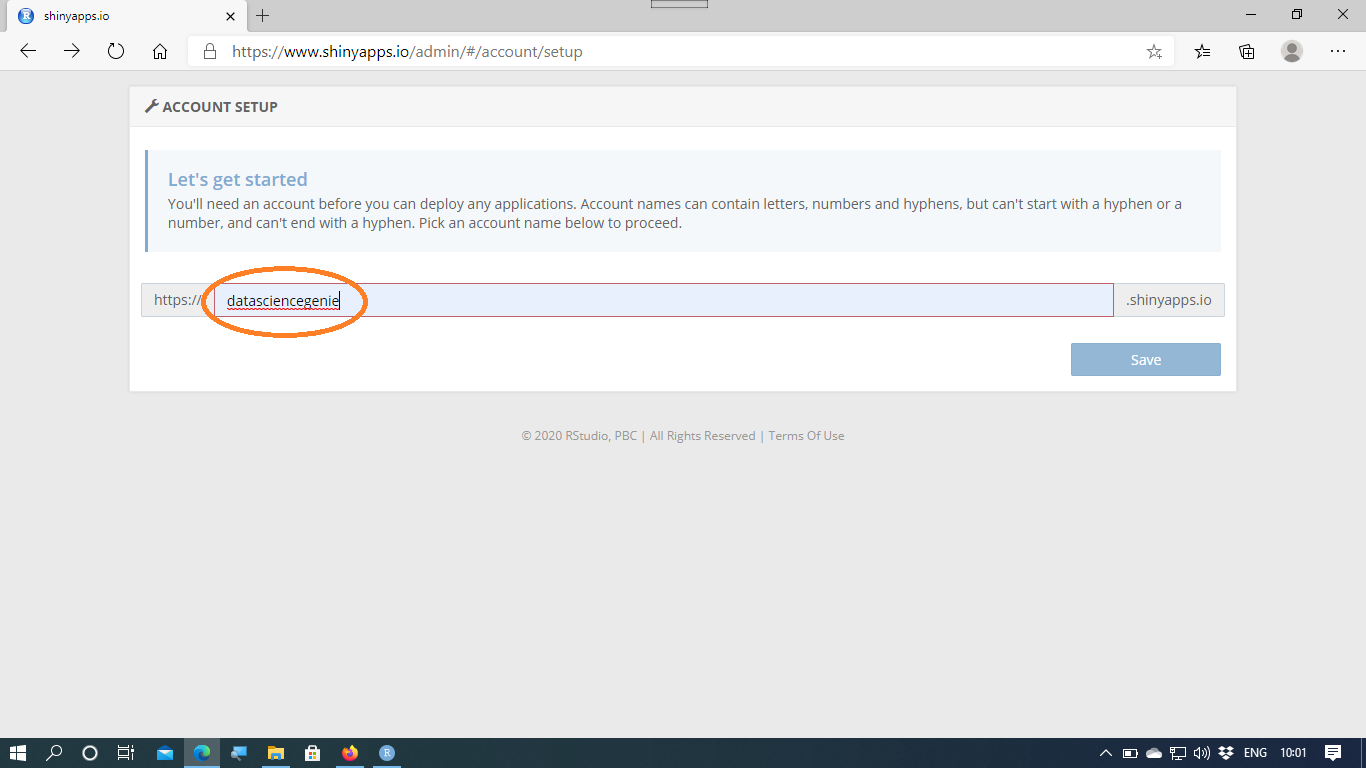
Step 4: Choose your username
Immediately after signing up, you are requested to choose your own username.
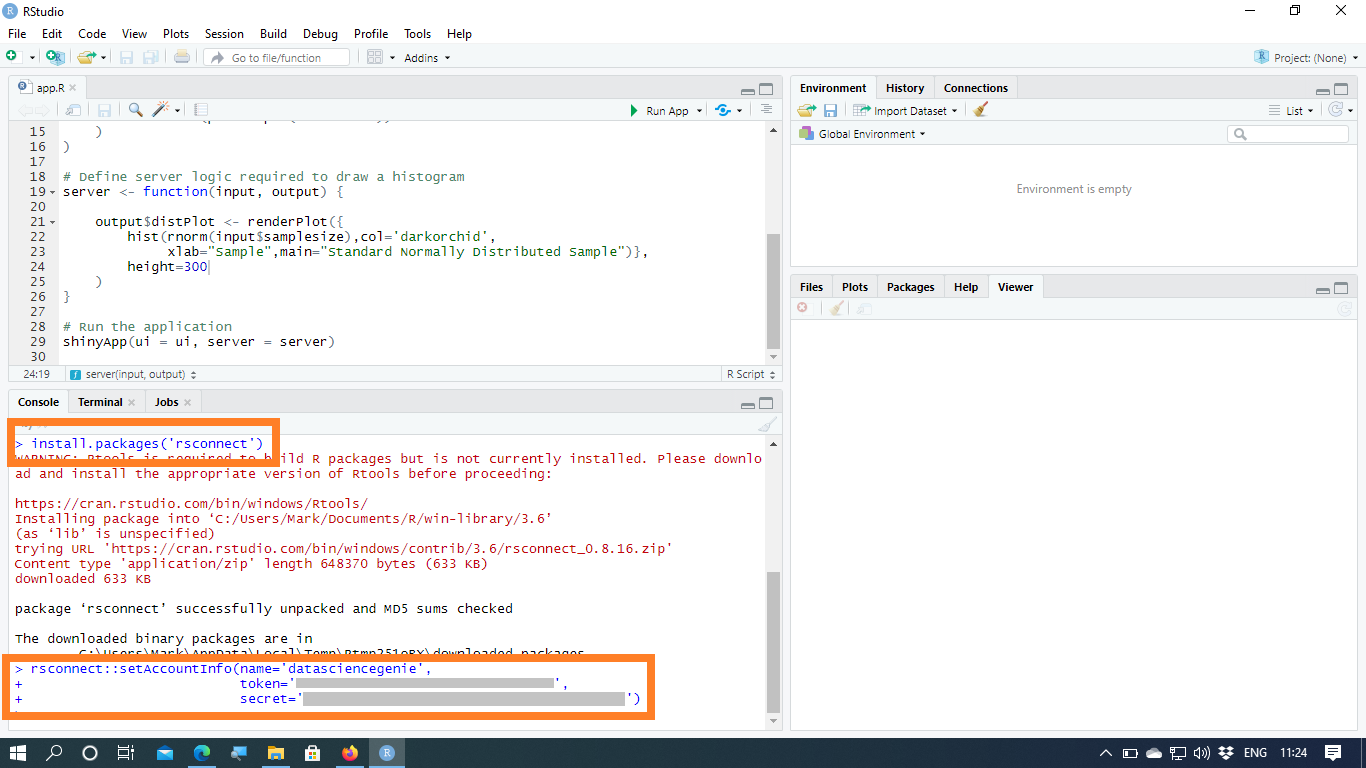
Step 5: Connect your RStudio to your online platform
You are now given the details to connect RStudio to your online platform. Make sure that you click the “Show secret” button and copy the two code lines (shown in the orange squares of the left diagram) to your R console (see the screenshot on the right).

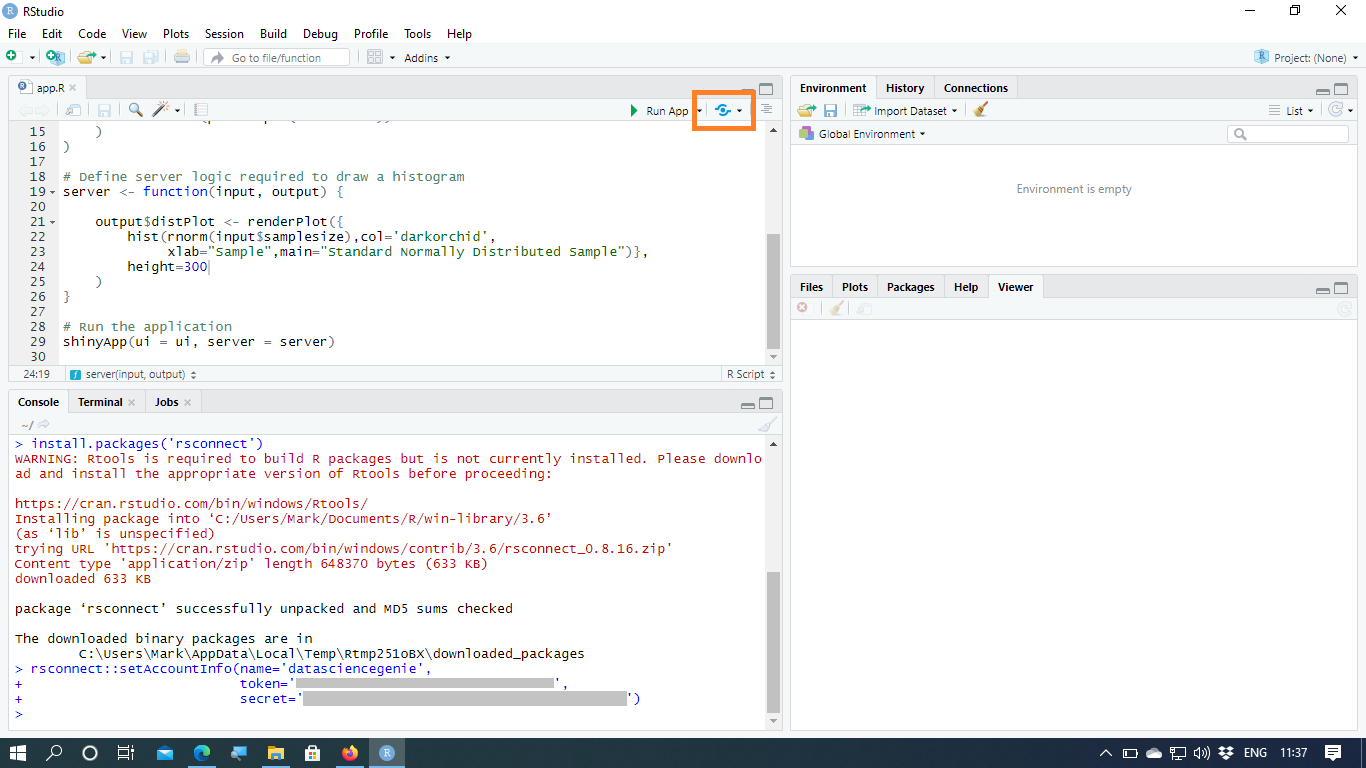
Step 6: Publish your App online
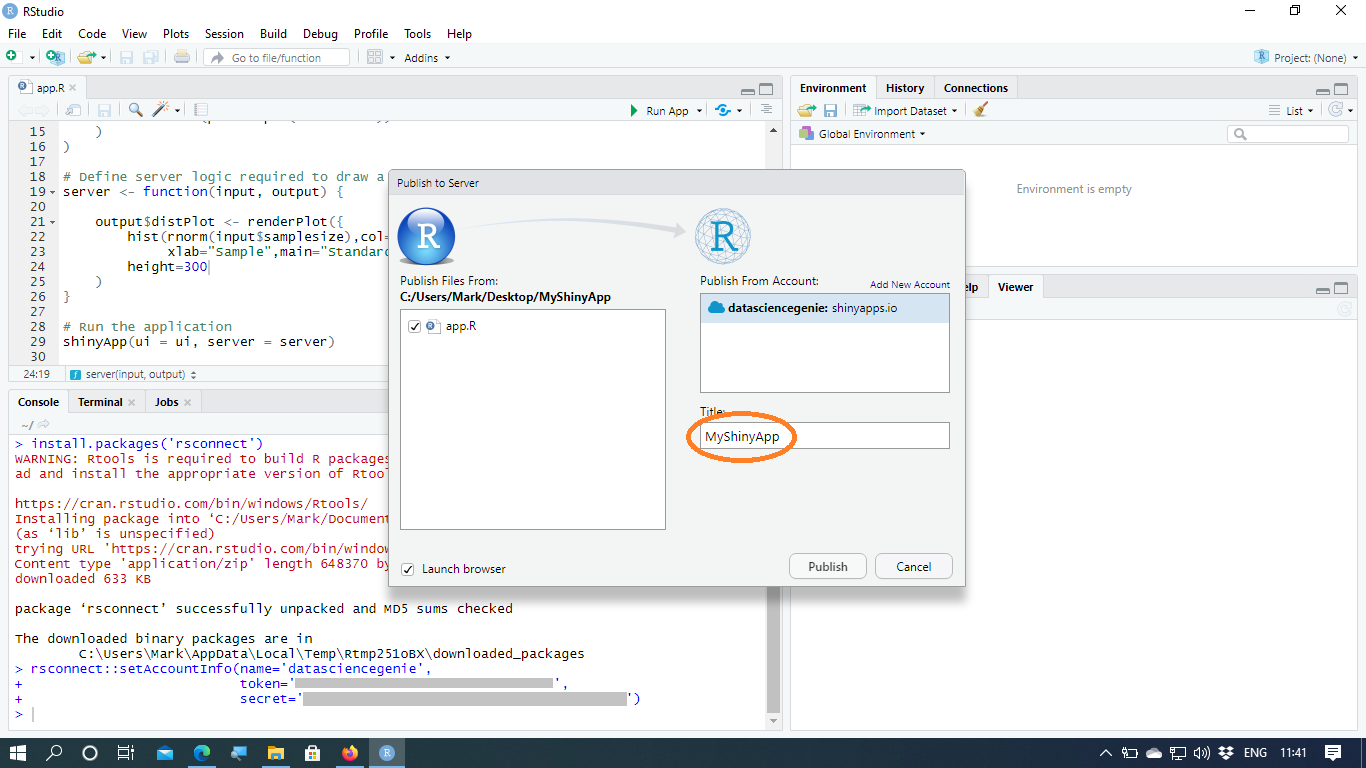
Now click the blue “Publish” button (see the screenshot on the left). Choose a name for your app and click “Publish” (see the screenshot on the right).
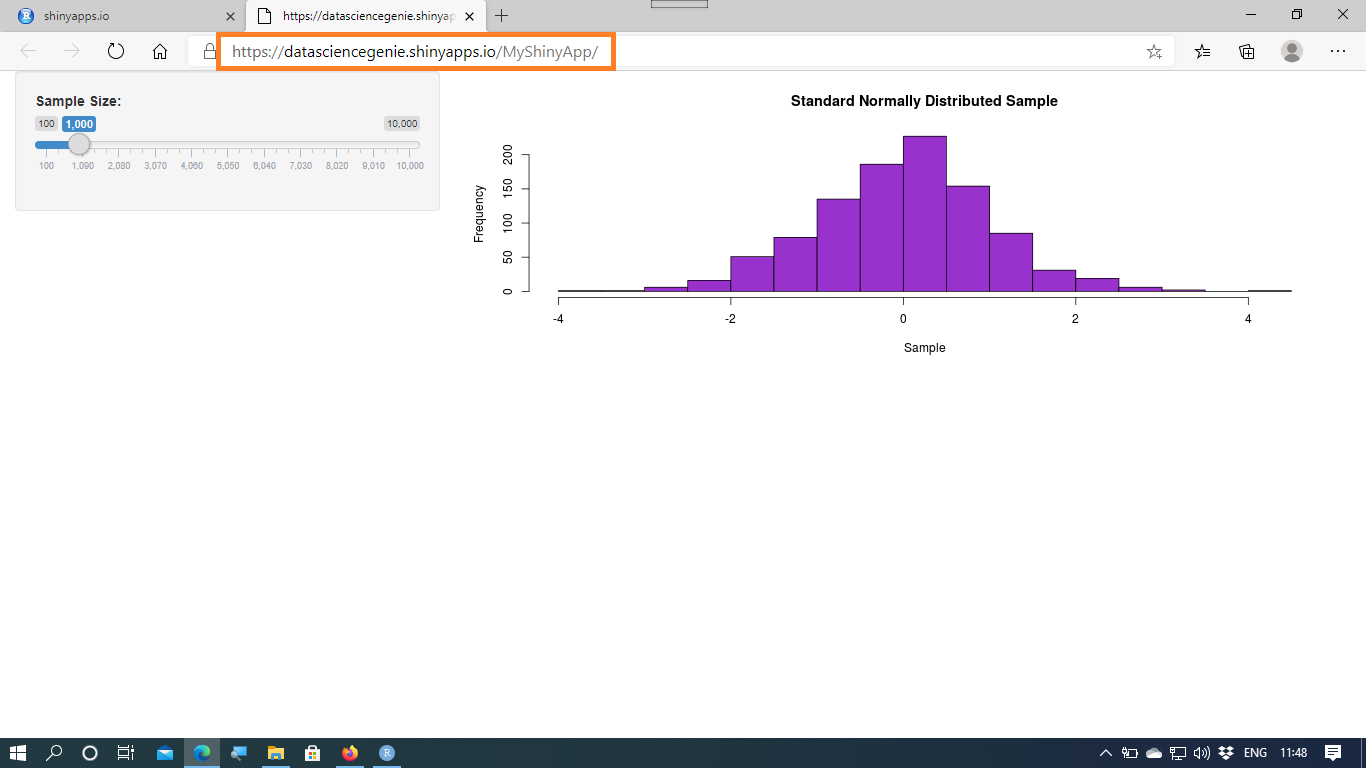
Now the app has been uploaded online on shinyapp.io. You are given a URL which involves your username and the name of the app, see screenshot below. You can copy this URL and send it to other people whom you would like to use your app. In the next step, we will use this URL to embed the app on our website.
Step 7: Embed the App on your personal website
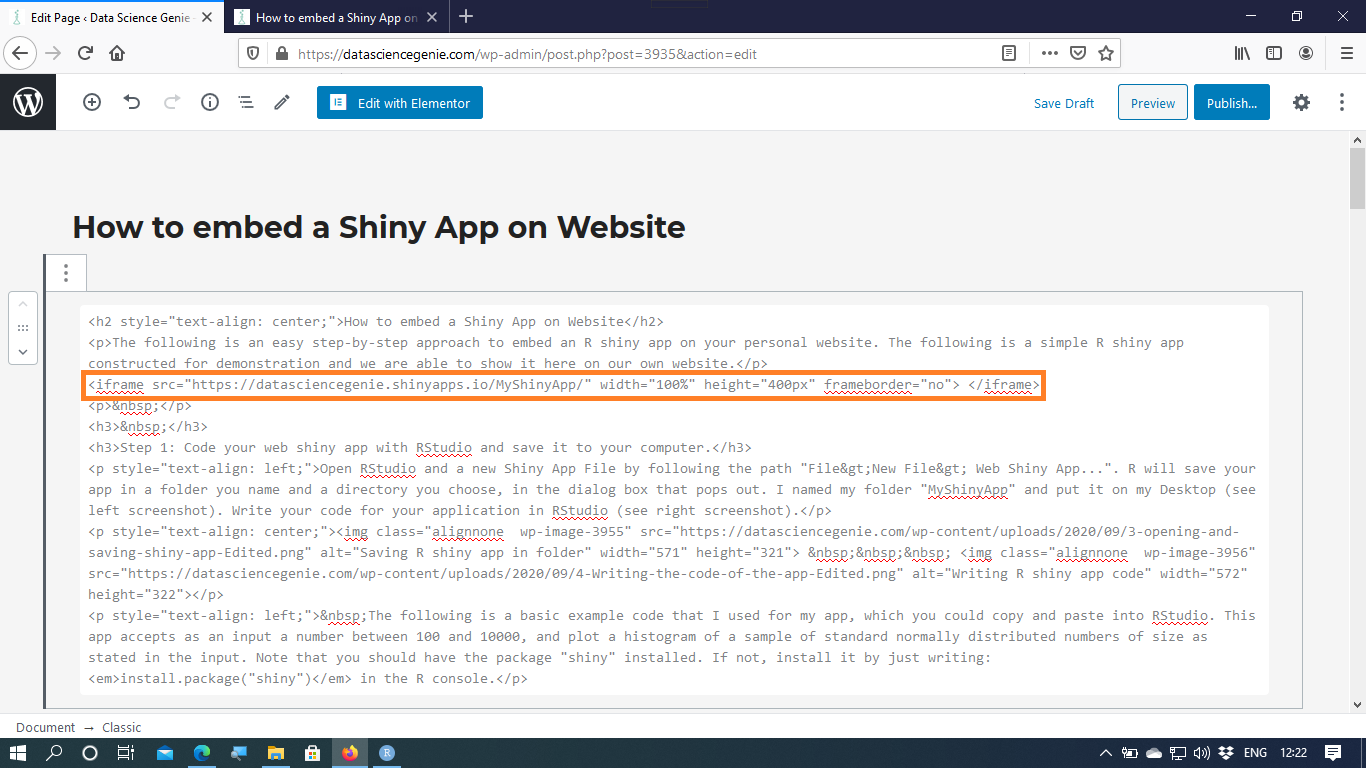
In order to link from our website to the URL of the app, we are going to use the html tag <iframe>. Note that in HTML the iframe tab enables us to embed an external document into our html document. Add the following html code when editing the webpage in which you want to show your app. Note that in “src” we provide to URL of the app. “width” is set to 100% in order for the app to fill the whole width of the webpage. You need to play around with the value for “height” because it depends on the dimensions of your particular app.
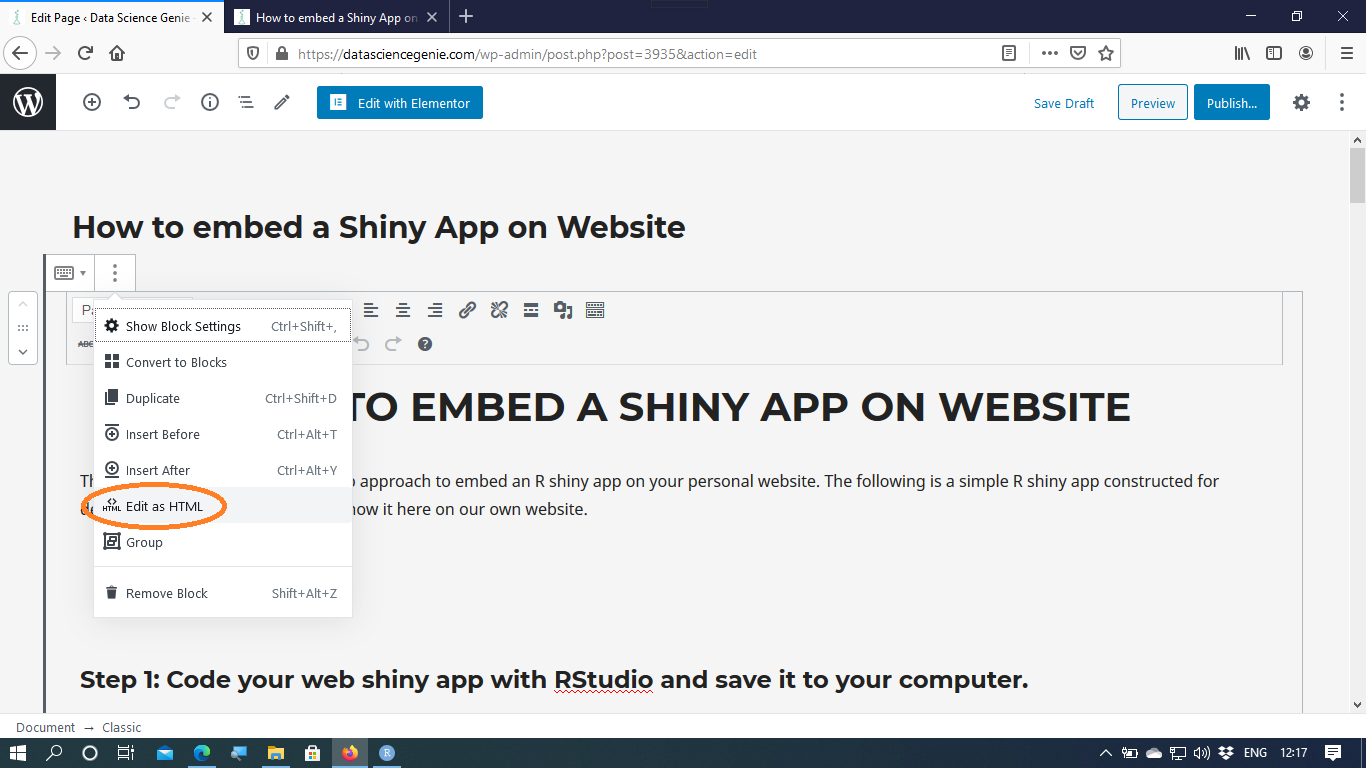
<iframe height="400" width="100%" frameborder="no" src="https://datasciencegenie.shinyapps.io/MyShinyApp/"> </iframe>If you are using the WordPress Editor, click the button “Edit as HTML” from the block options menu (see left screenshot). Insert the HTML iframe code line, where you would like to place the app (see right screenshot).